How to Measure for a Driveway Gate: A Step-by-Step Guide
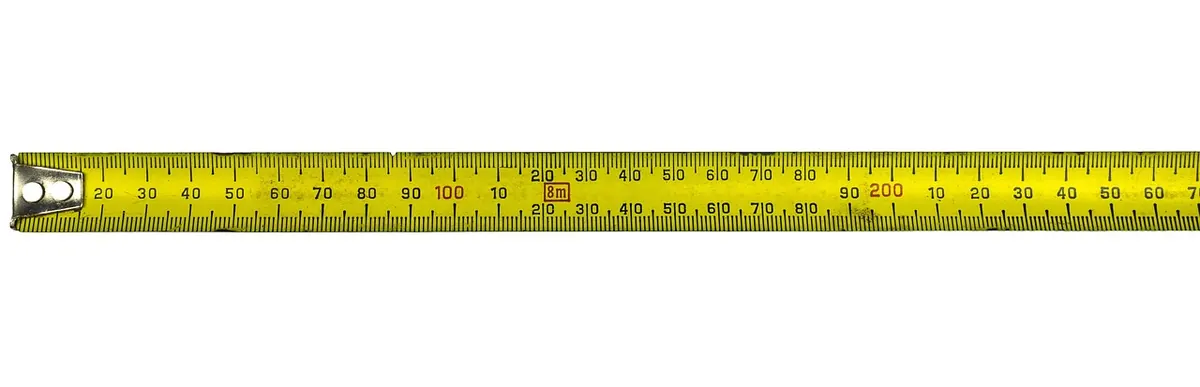
Ordering a driveway gate is one of those purchases where a few numbers decide everything. Get them right and the gate swings clean, latches with a satisfying click, and looks like it was always meant to be there. Get them wrong and you're facing custom cuts, new posts or a return shipment. Measuring takes about twenty minutes with a tape measure, a level and a notepad.
Start With the Opening, Not the Gate
A gate hangs in an opening — the clear space between two posts, piers or walls. That opening is what you measure, not the width of the paved driveway. Pavement edges wander, aprons flare, and a 14-foot drive often sits between piers closer to 13 feet apart.
Measure width in three places
Measure from inside face to inside face of the posts at the bottom, the middle and near the top. Masonry piers are rarely perfectly parallel, and a driveway that's 12 feet wide at the street can pinch to 11 feet 9 inches further in. Write down the smallest number — that's your true opening. If the three measurements differ by more than an inch or two, size the gate to the tightest spot or plan to adjust the posts.
Decide how the gate will attach
A gate mounted between piers loses width to hinges and a latch gap. A gate hung on the face of the posts, or on steel posts set behind the opening, keeps more of the opening usable. Settle the mounting style before ordering, because hinge type, post dimensions and hardware allowance all follow from it.
Single or Double? The Math Changes
Single swing gates are the simplest option and suit most residential openings. Past a certain width, a double gate — two leaves meeting in the middle — keeps each leaf light enough to swing and to hang on sensible hinges.
For doubles, remember the leaves are ordered as a pair. Two 6-foot leaves don't give you 12 feet exactly: hinges and the center gap consume a couple of inches. In a 12-foot-4 opening, a pair of 6-foot leaves leaves you room to work. In a 12-foot opening, the same pair gives you almost nothing.
Grade Changes: The Part Most People Miss
Driveways slope. Water has to run somewhere, so most drives have a crown, a fall toward the street, or both.
Side-to-side difference
Stretch a string line across the opening from one post to the other and set a level on it. Measure down to the ground at each end and at the center. If one side sits 4 inches lower, a level gate shows a 4-inch gap under the high side and almost no clearance under the low side.
Along the driveway
Walk 10 feet out from the gate in both directions and note where the ground rises or falls. That tells you how much clearance the gate needs and whether it will scrape after the drive settles or a heavy rain cuts a channel through gravel.
Two fixes are common. Raise the gate and accept a larger gap, or specify a racked gate — built with a sloping bottom rail that follows the grade while the top stays level. Racked gates look intentional and solve a lot of clearance headaches.
Swing Clearance and the Arc
A swing gate needs an empty quarter-circle on one side of the opening. Stand at the hinge and sweep your arm, or lay a hose in the arc, then walk the path and check for:
- Slope across the swing — a gate that clears on flat ground can dig into a rising drive as it opens.
- Planters, lighting bollards, mailboxes, hose reels, decorative rock.
- Parked vehicles and the turn path a trailer or delivery truck will take.
- Snow storage in winter, if you get hard winters.
- Anything on the street side, where an out-swinging gate may cross a sidewalk or public right of way.
If the gate swings toward the street, check local rules before you commit. Many jurisdictions restrict what may project into a right of way, and a gate opening into a sidewalk is a genuine hazard.
Sliding gates trade the arc for a straight run. The gate needs a level track or rail and somewhere to park — generally a clear, level stretch at least as long as the gate itself. A drive that slopes hard from side to side in front of the opening is a poor candidate for a sliding gate without site work.
Look Below the Surface
Before anyone digs or drills, find out what's underneath. Irrigation lines, low-voltage lighting, drainage tile, gas lines and conduit for an operator or intercom all tend to run near the driveway edge. Call your local utility locating service before excavation and mark sprinkler heads yourself. Gate posts carry real load, especially with an automatic operator, so footings need to suit your soil and frost depth. That is worth a conversation with a local installer or engineer.
A Measurement Sheet That Actually Works
- Opening width at bottom, middle and top — note the smallest.
- Opening height and the height difference between the two sides.
- Post material, dimensions, and whether they are plumb and solid.
- Mounting style: between posts, face-mounted, or on new posts.
- Desired gate height and ground clearance at the tightest point.
- Swing direction and hinge side, described as seen from the street.
- Any slope along the swing arc or sliding run.
- Photos: straight on from outside, from inside, and one showing the approach.
Sketch the opening, write the numbers on the sketch, then photograph the sketch with your phone. That single image answers most of what a fabricator will ask.
Final Checks Before You Order
Measure twice, on a dry day, with the same tape. Confirm the numbers on your sketch match the order form, including the allowance for hinges and latches. Double-check hinge side and swing direction — it's the most common mistake on gate orders and one of the most irritating to fix. If the site is complicated — steep grade, an automatic operator, a right-of-way question — bring in a local gate installer early. Most will measure and quote at no charge, and their numbers will save you far more than the cost of a gate that doesn't fit.
Photo: Joshua_Willson / Pixabay